Taking a Milky Way Image
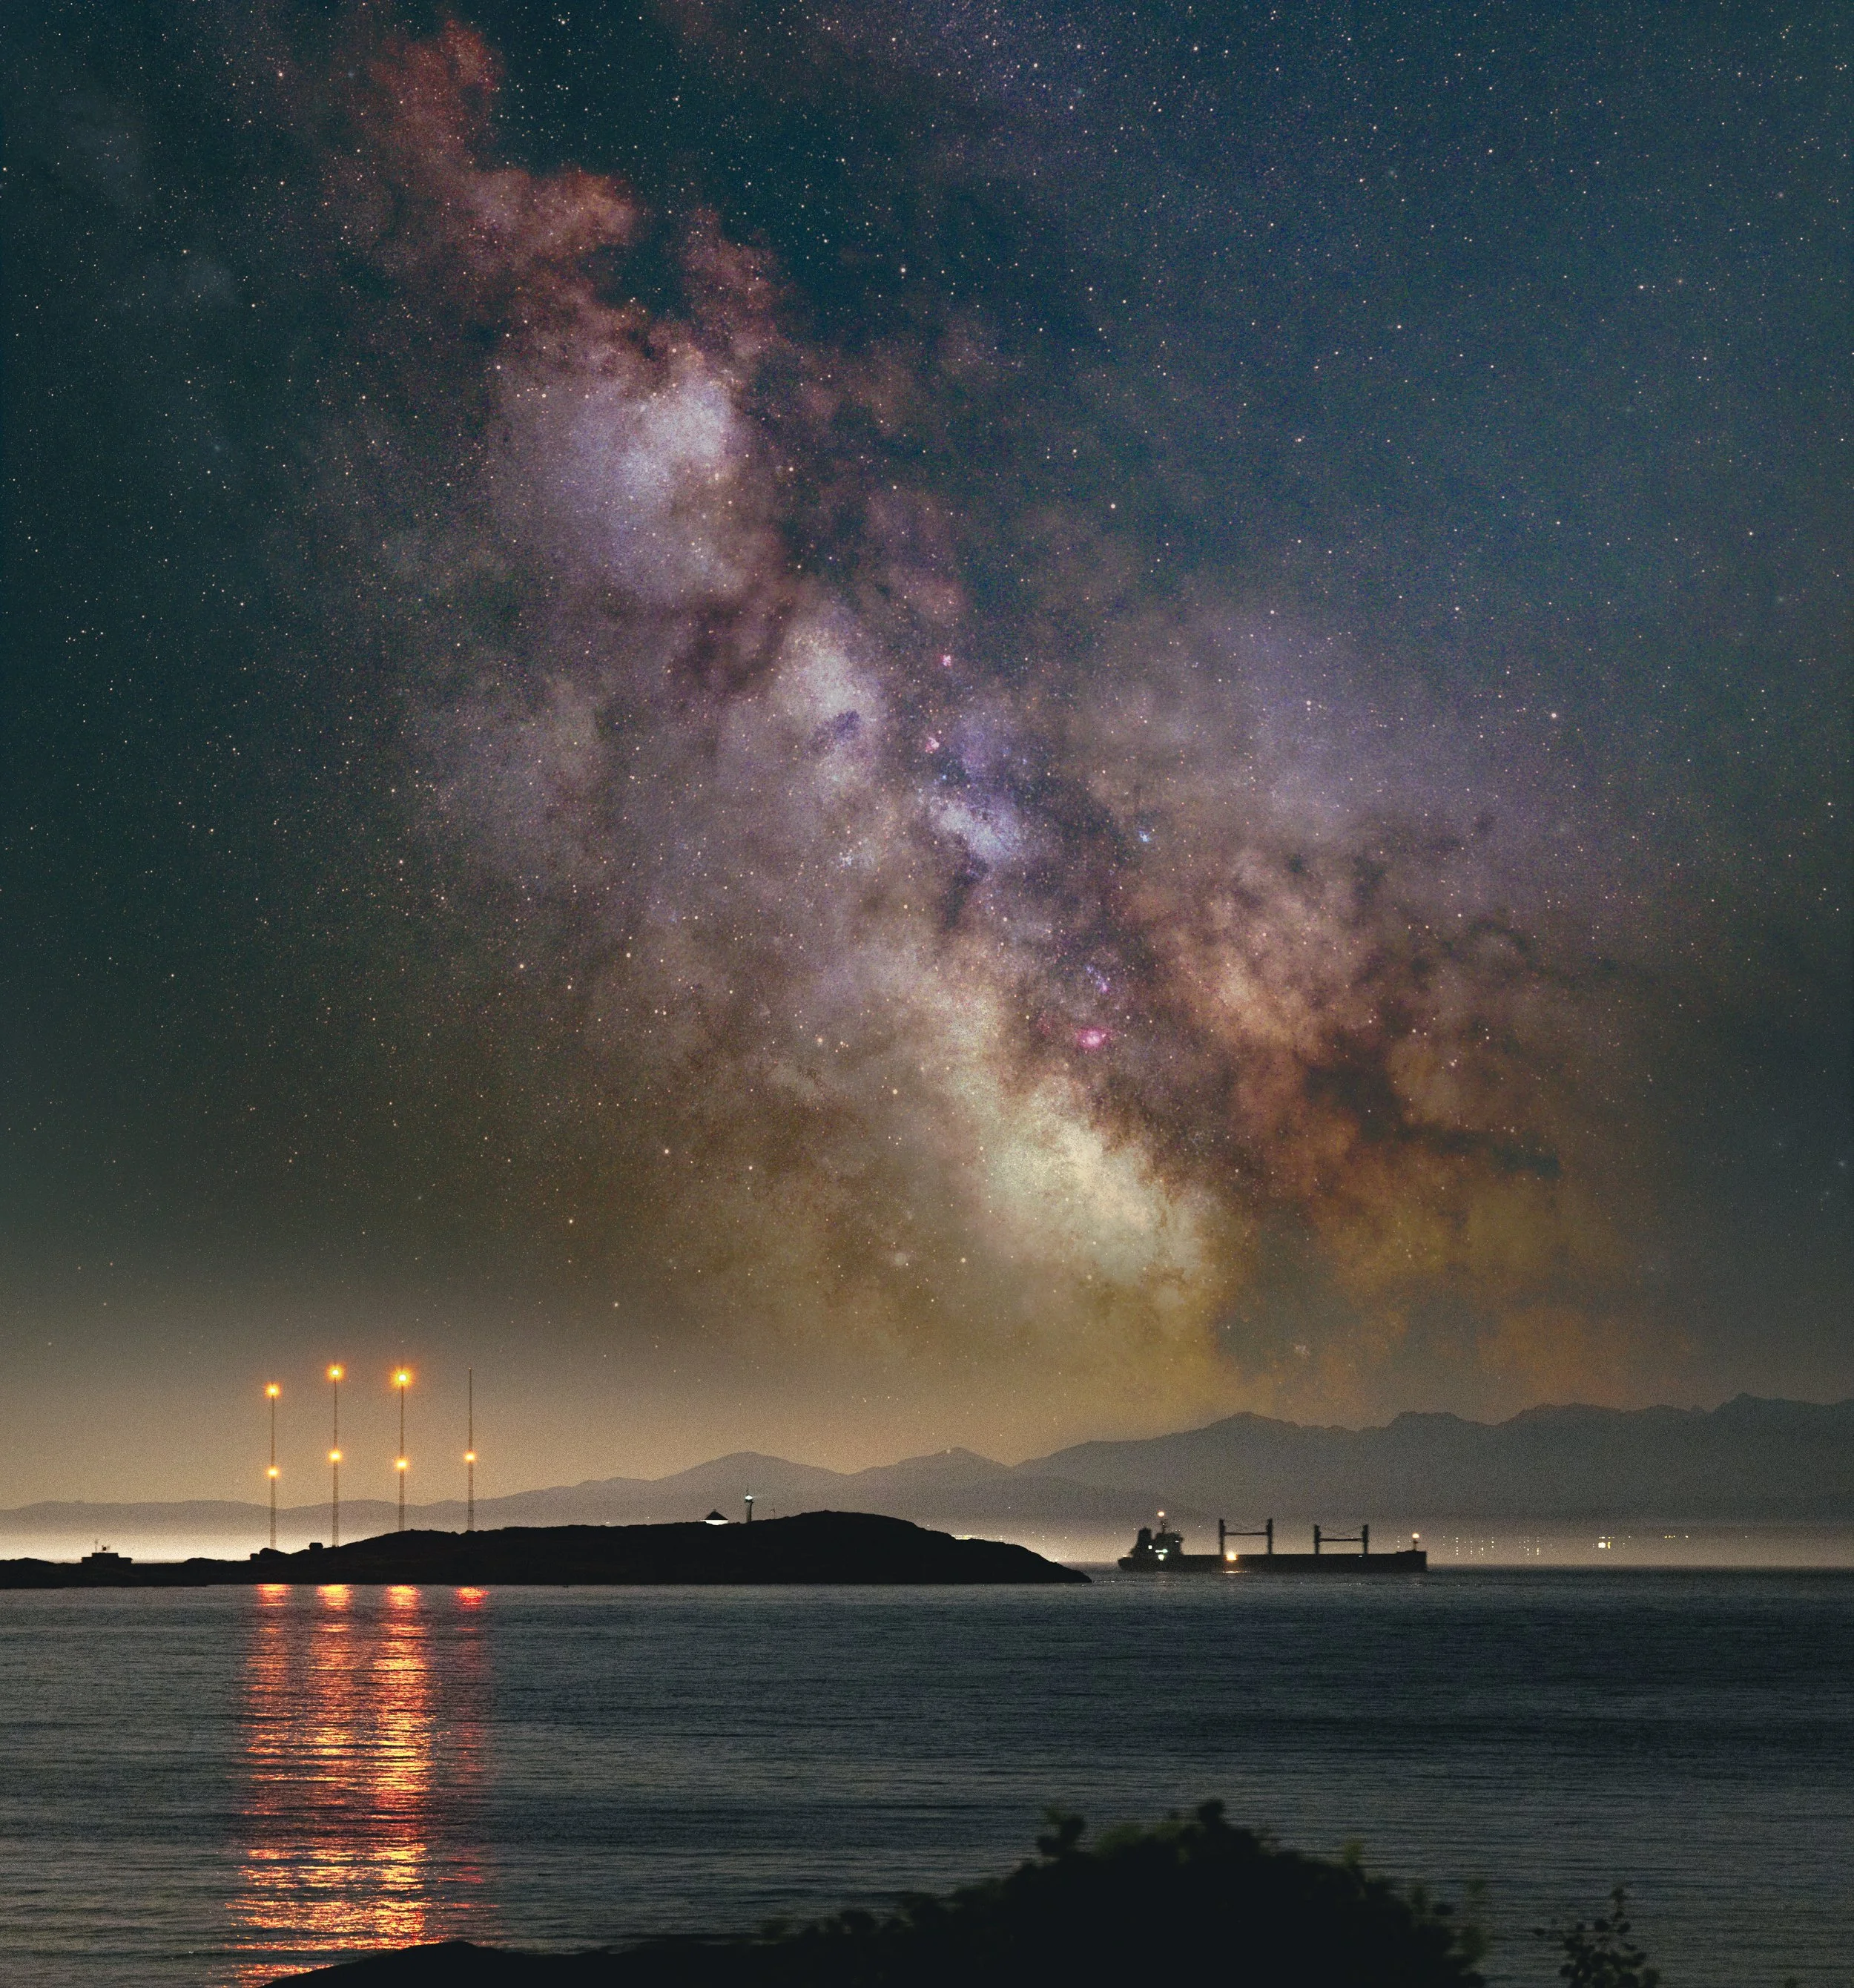
I captured most of these images at dark sites on Vancouver Island in Canada. Usually I take sky and landscape shots from the same location with separate exposures and combine them in Photoshop. You don’t need a telescope or super-expensive equipment for this kind of photograph. But it does take careful planning…

The image above was nominated as a ‘Top Pick’ on the Astrobin site.

Find a truly dark site by referring to a light pollution map, ideally Class 4 Bortle or below. The Bortle scale measures from one (darkest) to nine (most light polluted).
Avoid nights when there is a moon - it washes out the sky with light.
Check your night sky will be cloud-free. I recommend a combination of weather forecast sites windy.com and Clear Outside.
Establish where the Milky Way will be, using online guides such as Stellarium or apps like Sky Safari, Sky Guide or Star Walk. They are fun to use.
Recce your location in the daytime for stress-free planning, and decide on your framing.
Focus on the small stars, not the big ones - see how they disappear as they defocus and then reappear when you hit optimum focus.
My top tips for Milky Way shots
Here are some useful links for planning:
The image above was nominated as a ‘Top Pick’ on the Astrobin site.

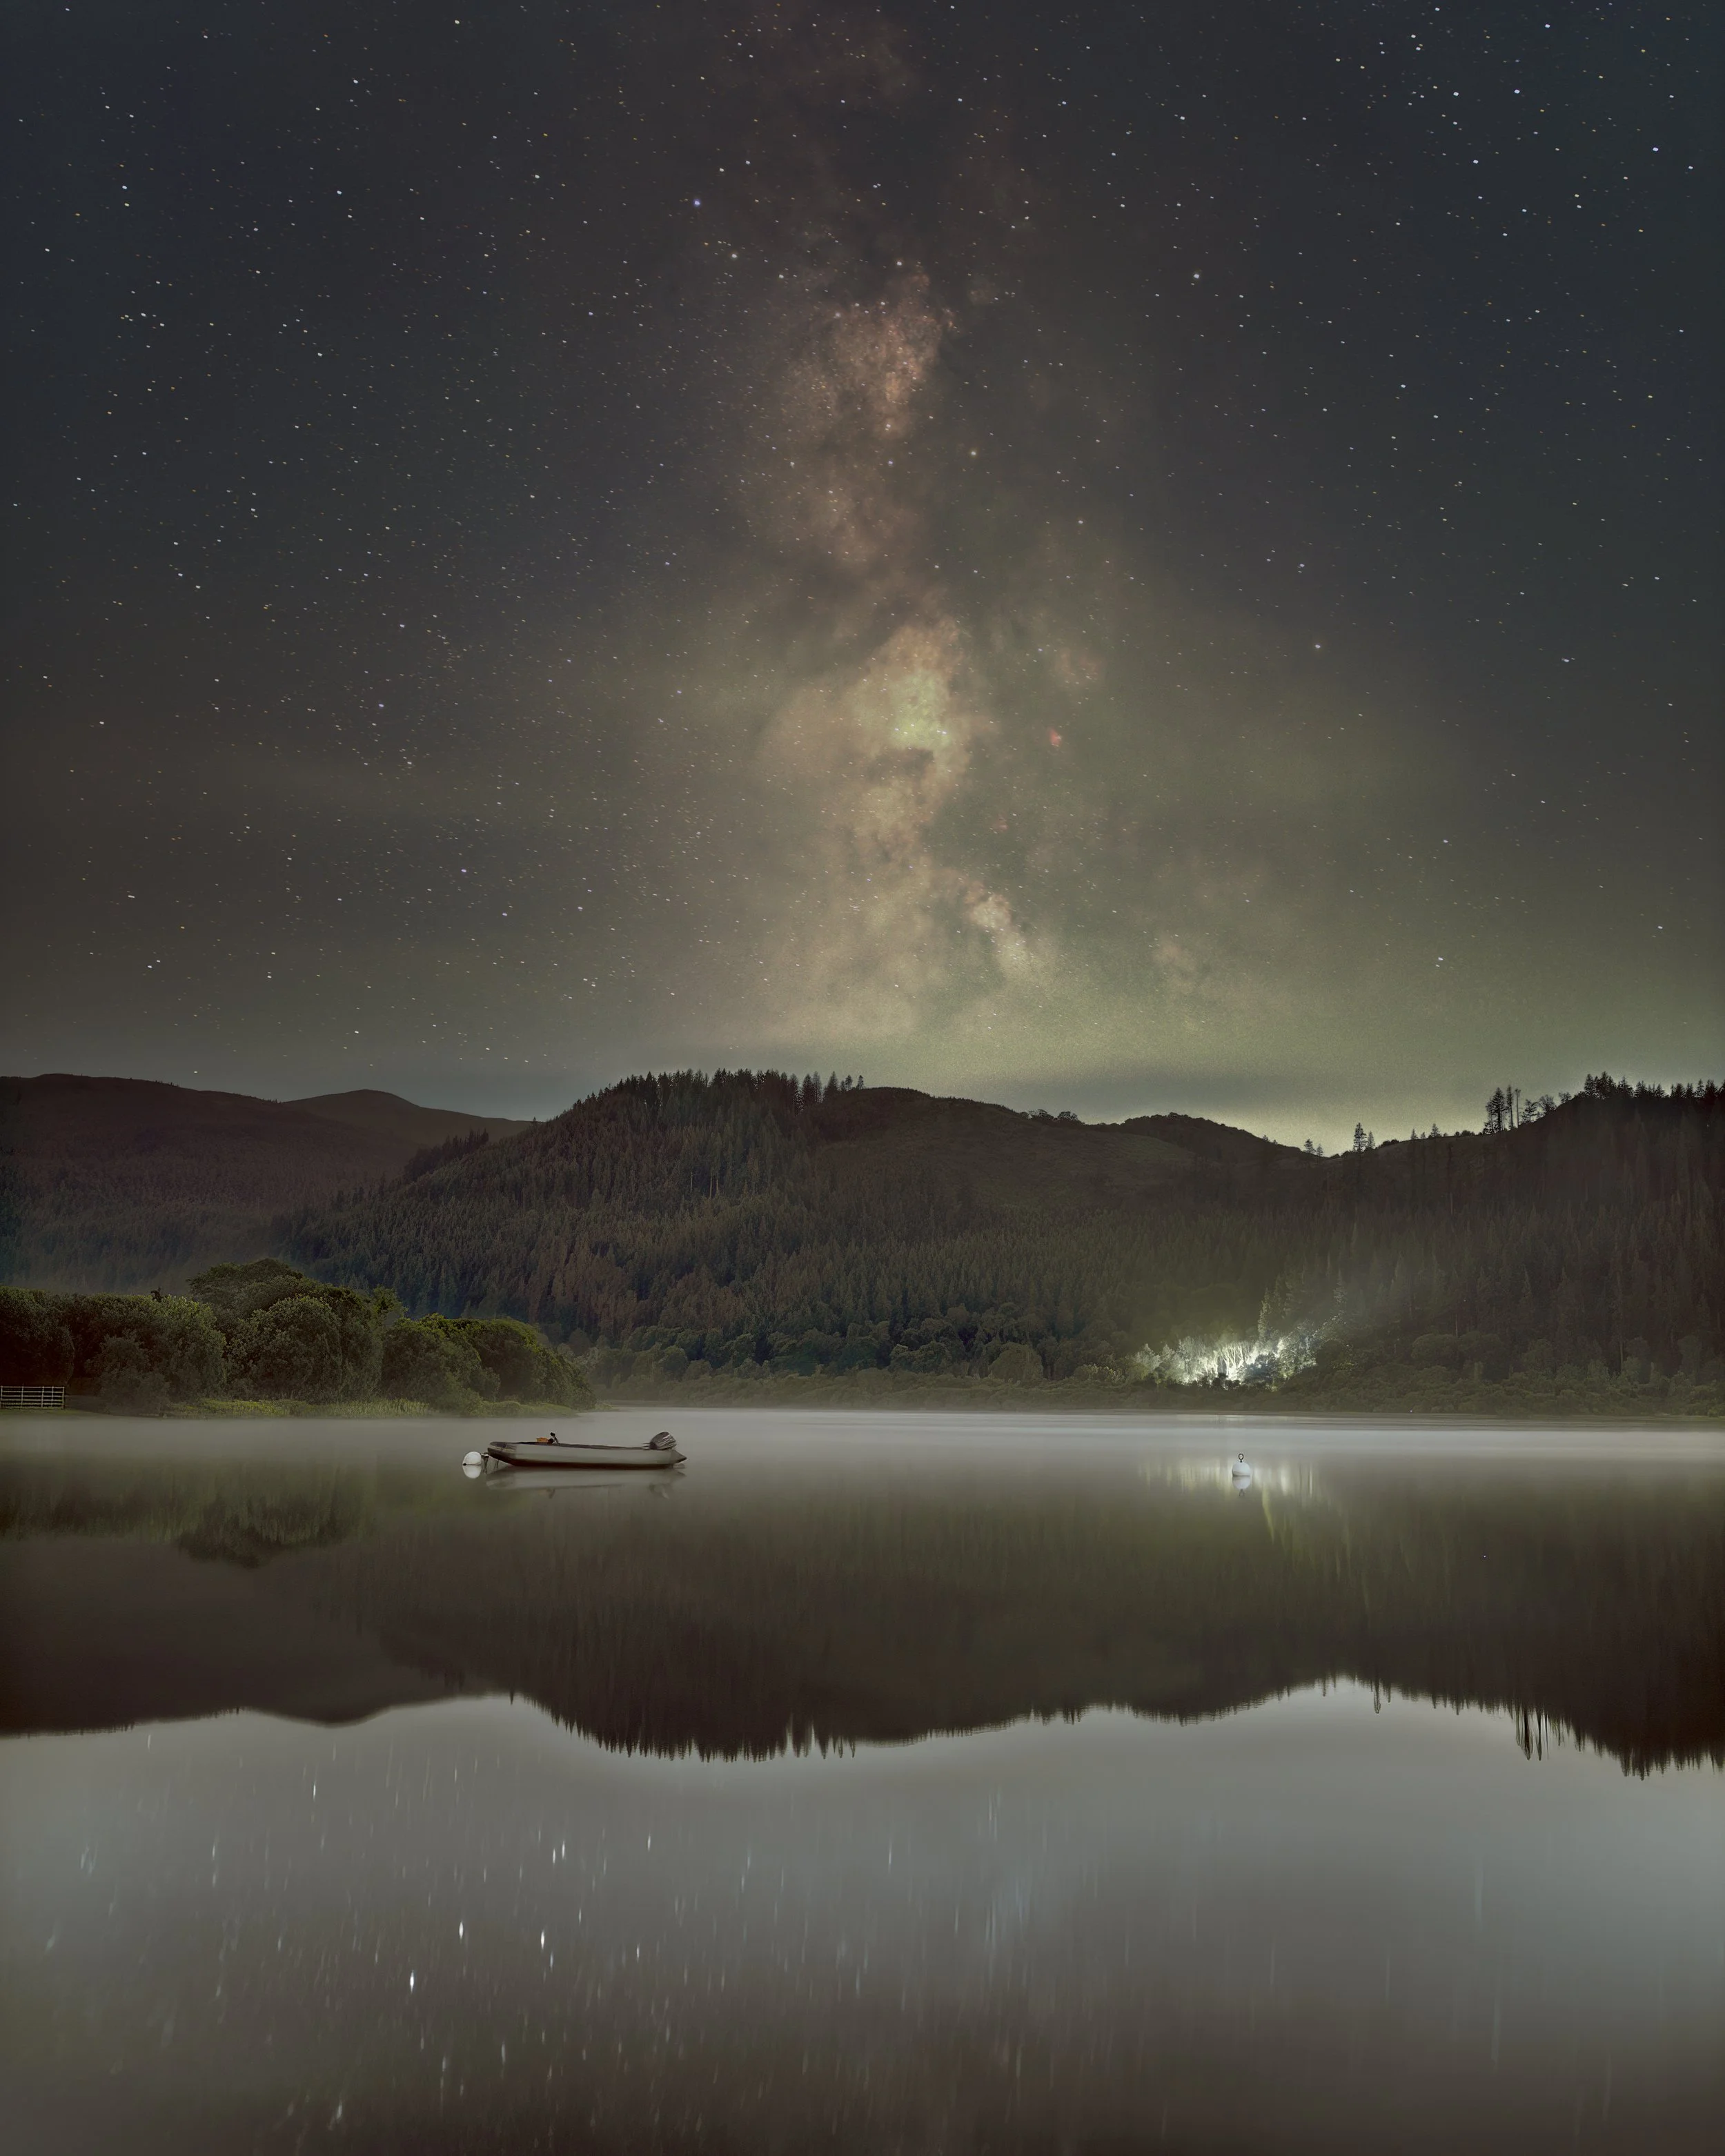
Above: Brassenthwaite Lake with Milky Way and meteor. Camera: EOS Ra, Lens: Canon RF15-35mm using 15mm. 30x20” stacked f/2.8 35mm ISO 3,200. It was a little cloudy but I was happy enough with the result.
Above: Brassenthwaite Lake in Cumbria. Canon EOS Ra, Canon EF 35mm f/1.4L USM ISO 2000. 21x15” stacked.
Recommended camera settings for The Milky Way
Low f-number (wide aperture) to allow in maximum light. f/2.8 or wider is good.
Wide angle lens, ideally 35mm or less.
Fast ISO - start at 2000, depending on your f-number. This is the sensitivity of your camera.
Exposure time if no star tracker mount: try the ‘500 rule’ which is 500 ÷ focal length = exposure time. If you expose too long, the stars will begin to streak across your field of view, due to the rotation of the earth.
With a tracker mount you can do much longer exposures and still avoid star streaking because it moves the camera to follow the stars. When using a tracker, I take minute-long sub frames and stack them together. The ISO can be lower with a tracker.
White balance 4000k.
The landscape and sky require different exposures, so take separate images of them and combine them in software such as Photoshop or Starry Landscape Stacker.
I prefer to take both from the same spot on the same night and keep everything to scale, to maintain integrity in the image. But ultimately there are no rules, aside from having fun of course.
When you combine them, try to make sure the blend line and colour and contrast balance between the sky and landscape feel right.

When combining a landscape with the stars, your landscape will be blurred when a tracker mount is turned on because it is moving to follow the sky. Turn it off to take a sharp image of the landscape, but of course in this shot the stars will be blurred because you are no longer tracking. The solution is to take the sharp landscape from one image (tracker off) and combine it with the sharp stars from the other (tracker on). I do this in Photoshop.

Durdle Door (above) is an iconic coastal erosion feature on the Jurassic Coast of Dorset, England. This was a magical location to visit at night. Probably the most unoriginal idea for a Milky Way shot, but fun to do.
There was a long trek over challenging terrain to get to this location and it made sense to leave the heavy tracker mount behind. So I tried a new technique to make the stars rounder...
1. Take a long exposure 20s shot of the Milky Way (stacked).
2. Take a short exposure 3.7s shot with identical framing (stacked).
3. Process the long exposure shot and remove the streaky stars, leaving the dusty, starless block colour background of the Milky Way.
4. Remove and keep the stars only from the short exposure shot.
5. Superimpose these round stars in the correct position over the long exposure background.
6. The final image now has long exposure dust, but short exposure rounder stars. They are still distorted to some extent by the lens, but hopefully this is still a worthwhile improvement.
I made a lot of bungling errors with this - fatally forgetting the tripod quick release on a first attempt. Not noticing that the f-number had slipped from its correct setting on the second attempt. All down to sleeplessness... or that's my excuse, anyway.
I normally stretch the Milky Way more than this, but this time I fought the impulse and hopefully the image has a feeling of depth and hangs together in a more coordinated way.
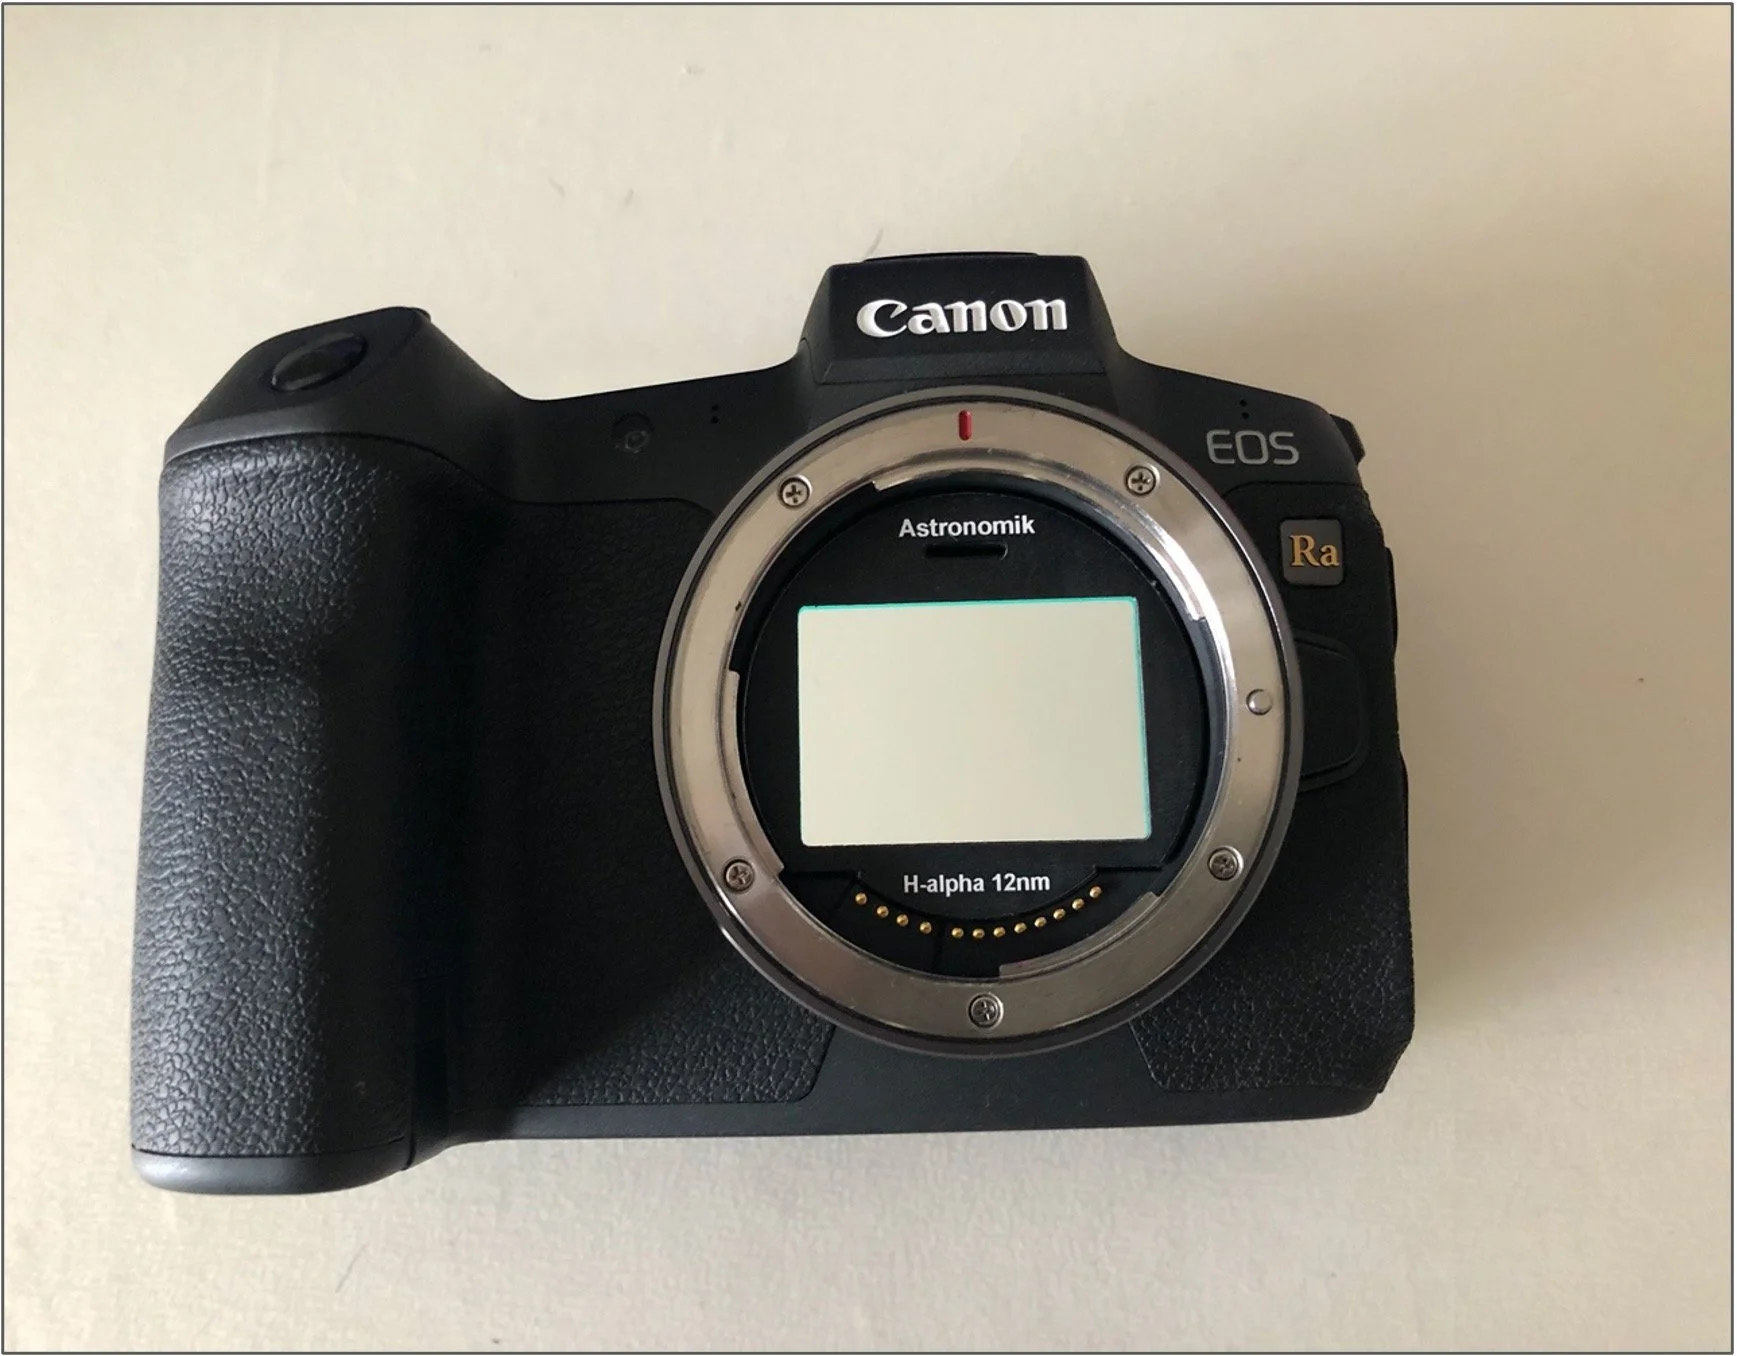
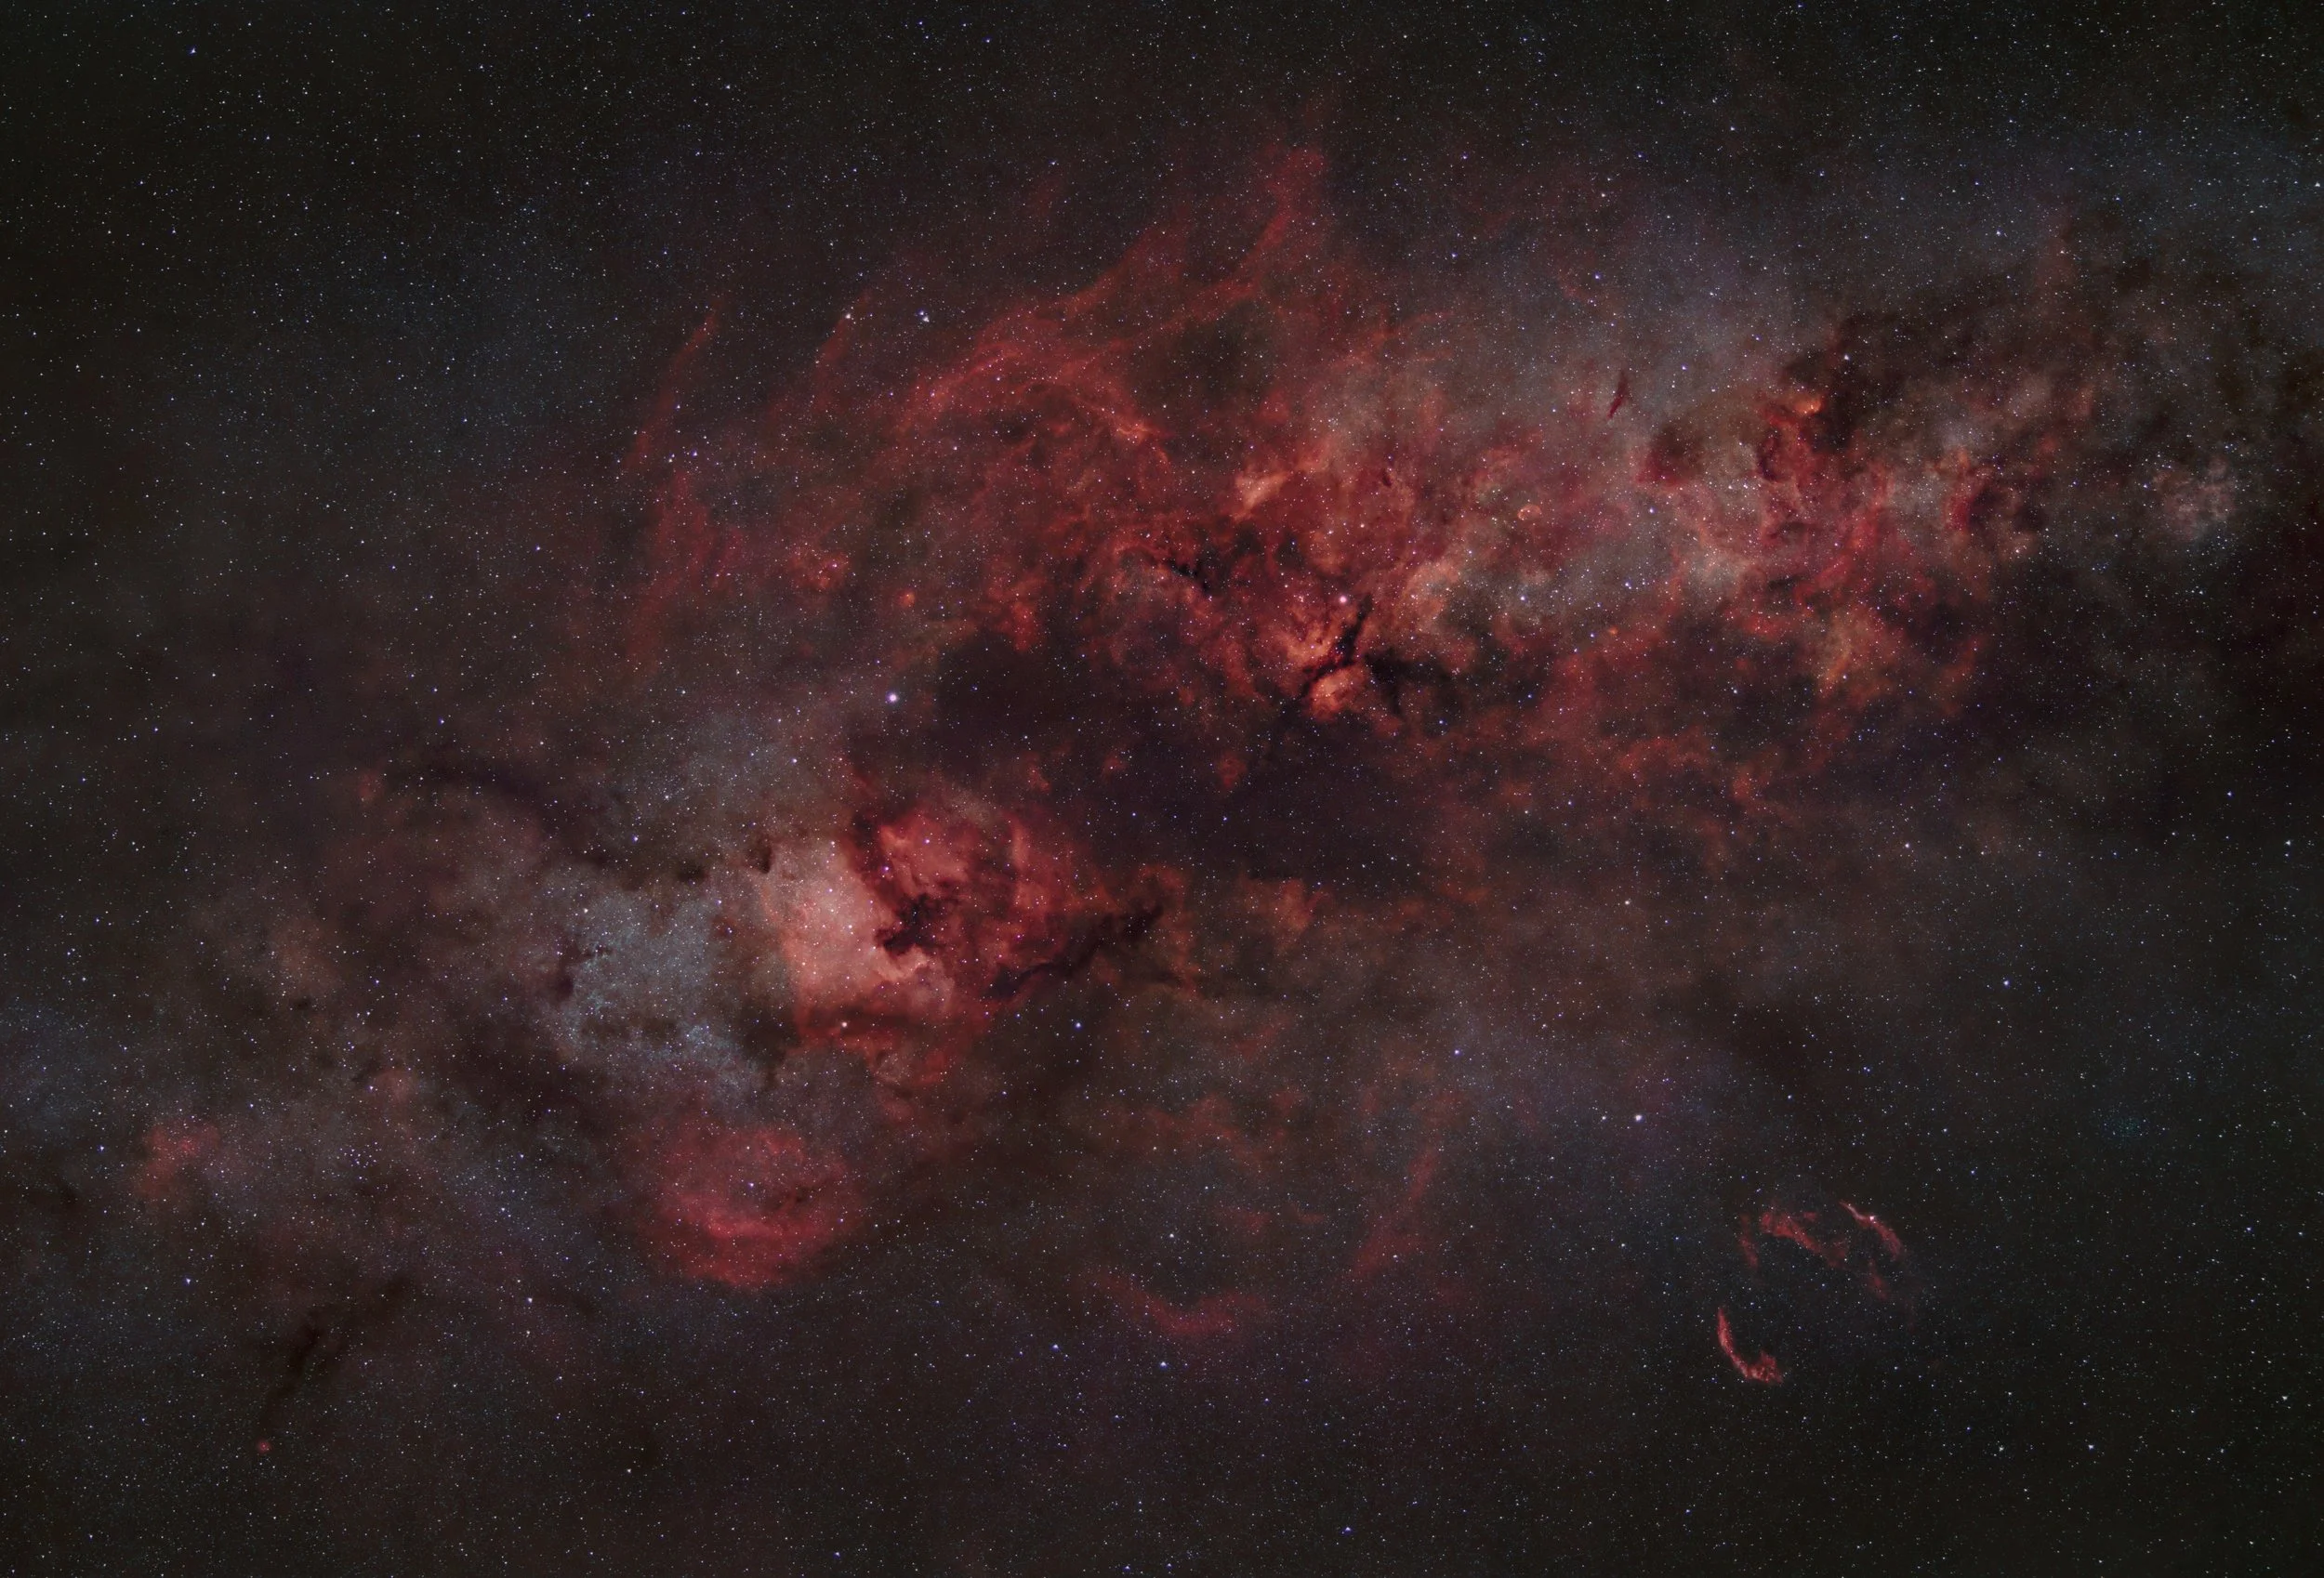
Filtering in the hydrogen
The two images of the Cygnus region below were enhanced by mixing in sub-frames taken with a hydrogen-alpha clip filter (Astronomik 12nm). It fits into the body of my Canon full frame mirrorless camera. This allows only the narrow range of red light emitted by ionised hydrogen to hit my camera’s sensor and picks out the shapes of dust and gas.


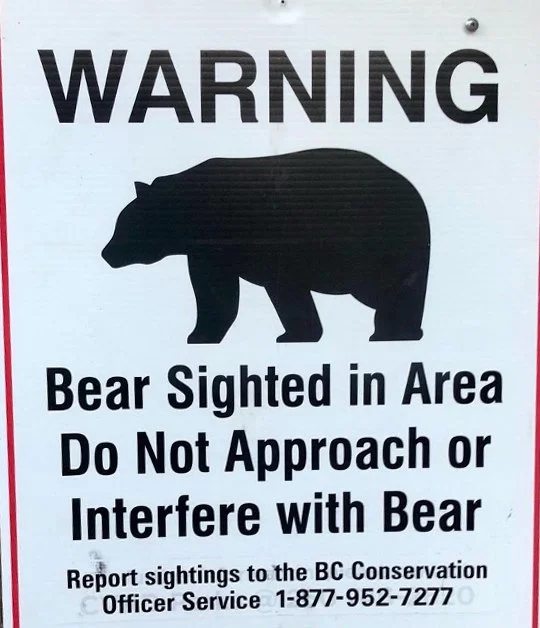
Most of my Milky Way images were taken on Canada’s Vancouver Island where my wife grew up. It has some truly dark locations. I saw these warning notices pinned up near my favourite imaging spot - hazards yet to be encountered in my South London back garden.

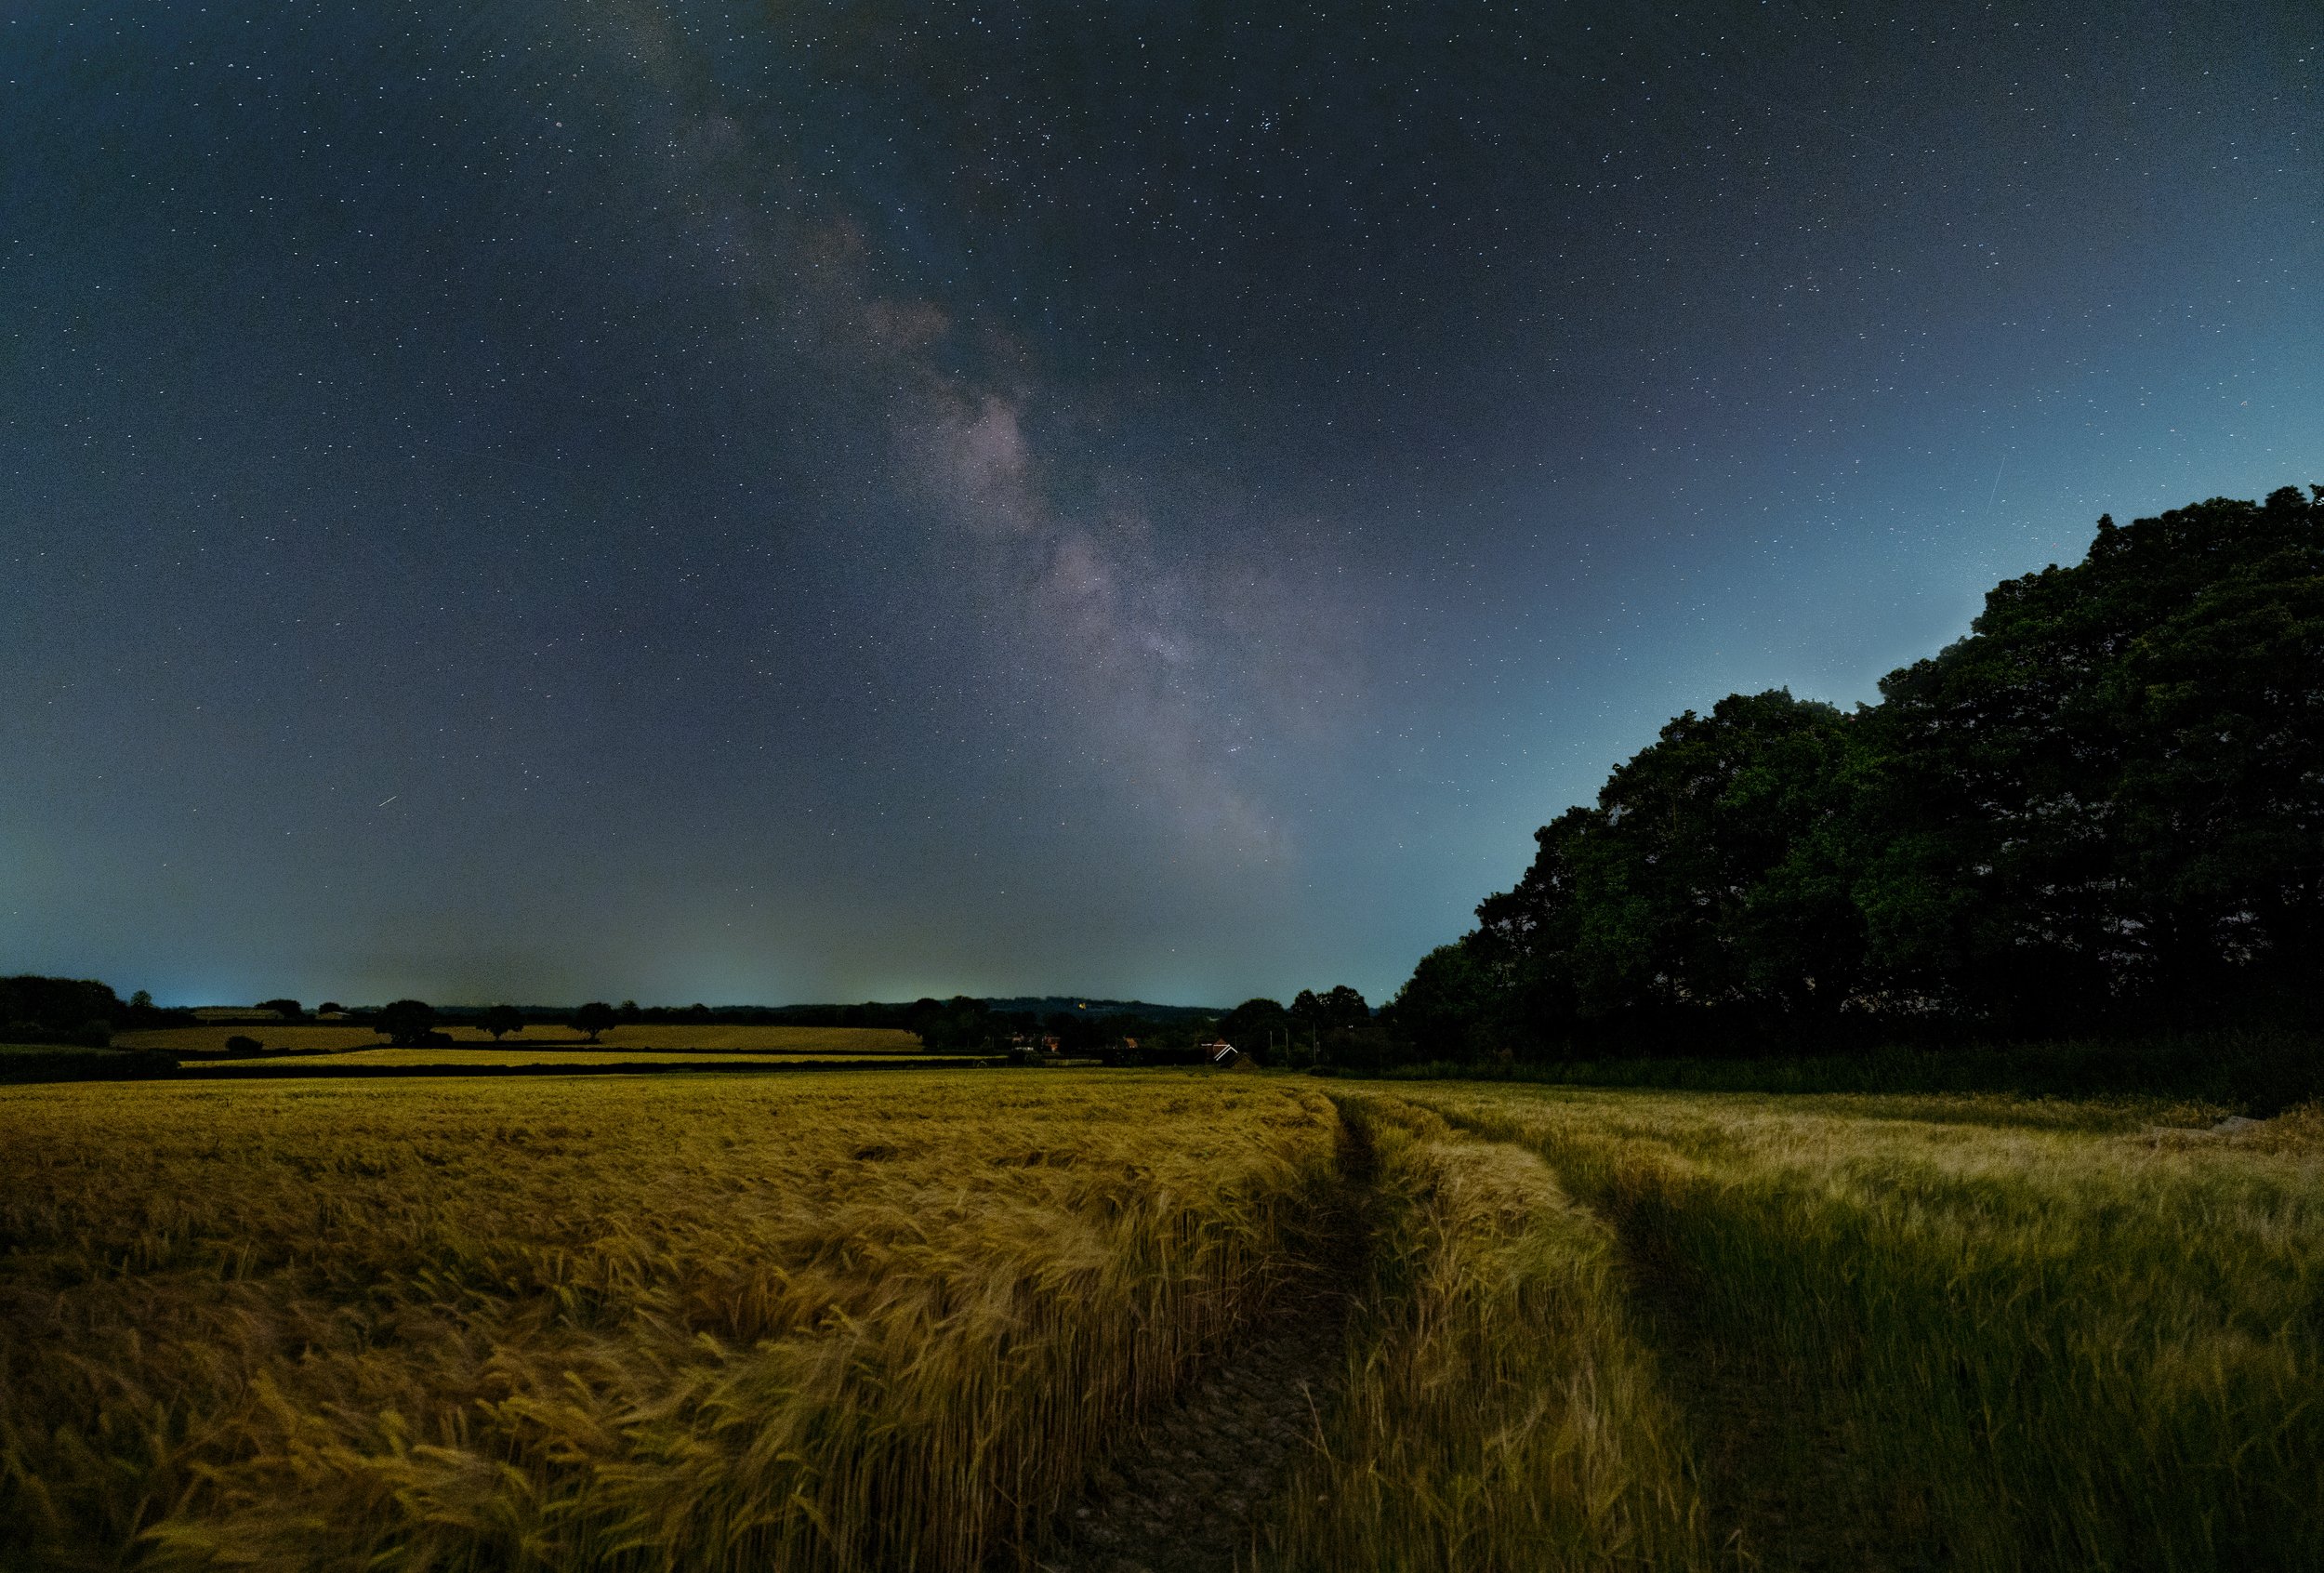
Keeping it Simple
If you don’t have a tracker and don’t want to stack images, just keep things simple - there are still plenty of possibilities. The image below was taken as a single 15-second exposure at a time of summer when there was no ‘astronomical darkness’. The sun doesn’t go far enough below the horizon for it be properly dark. I used my Canon EOS Ra set at ISO 2000, f/2.8 and 15mm.
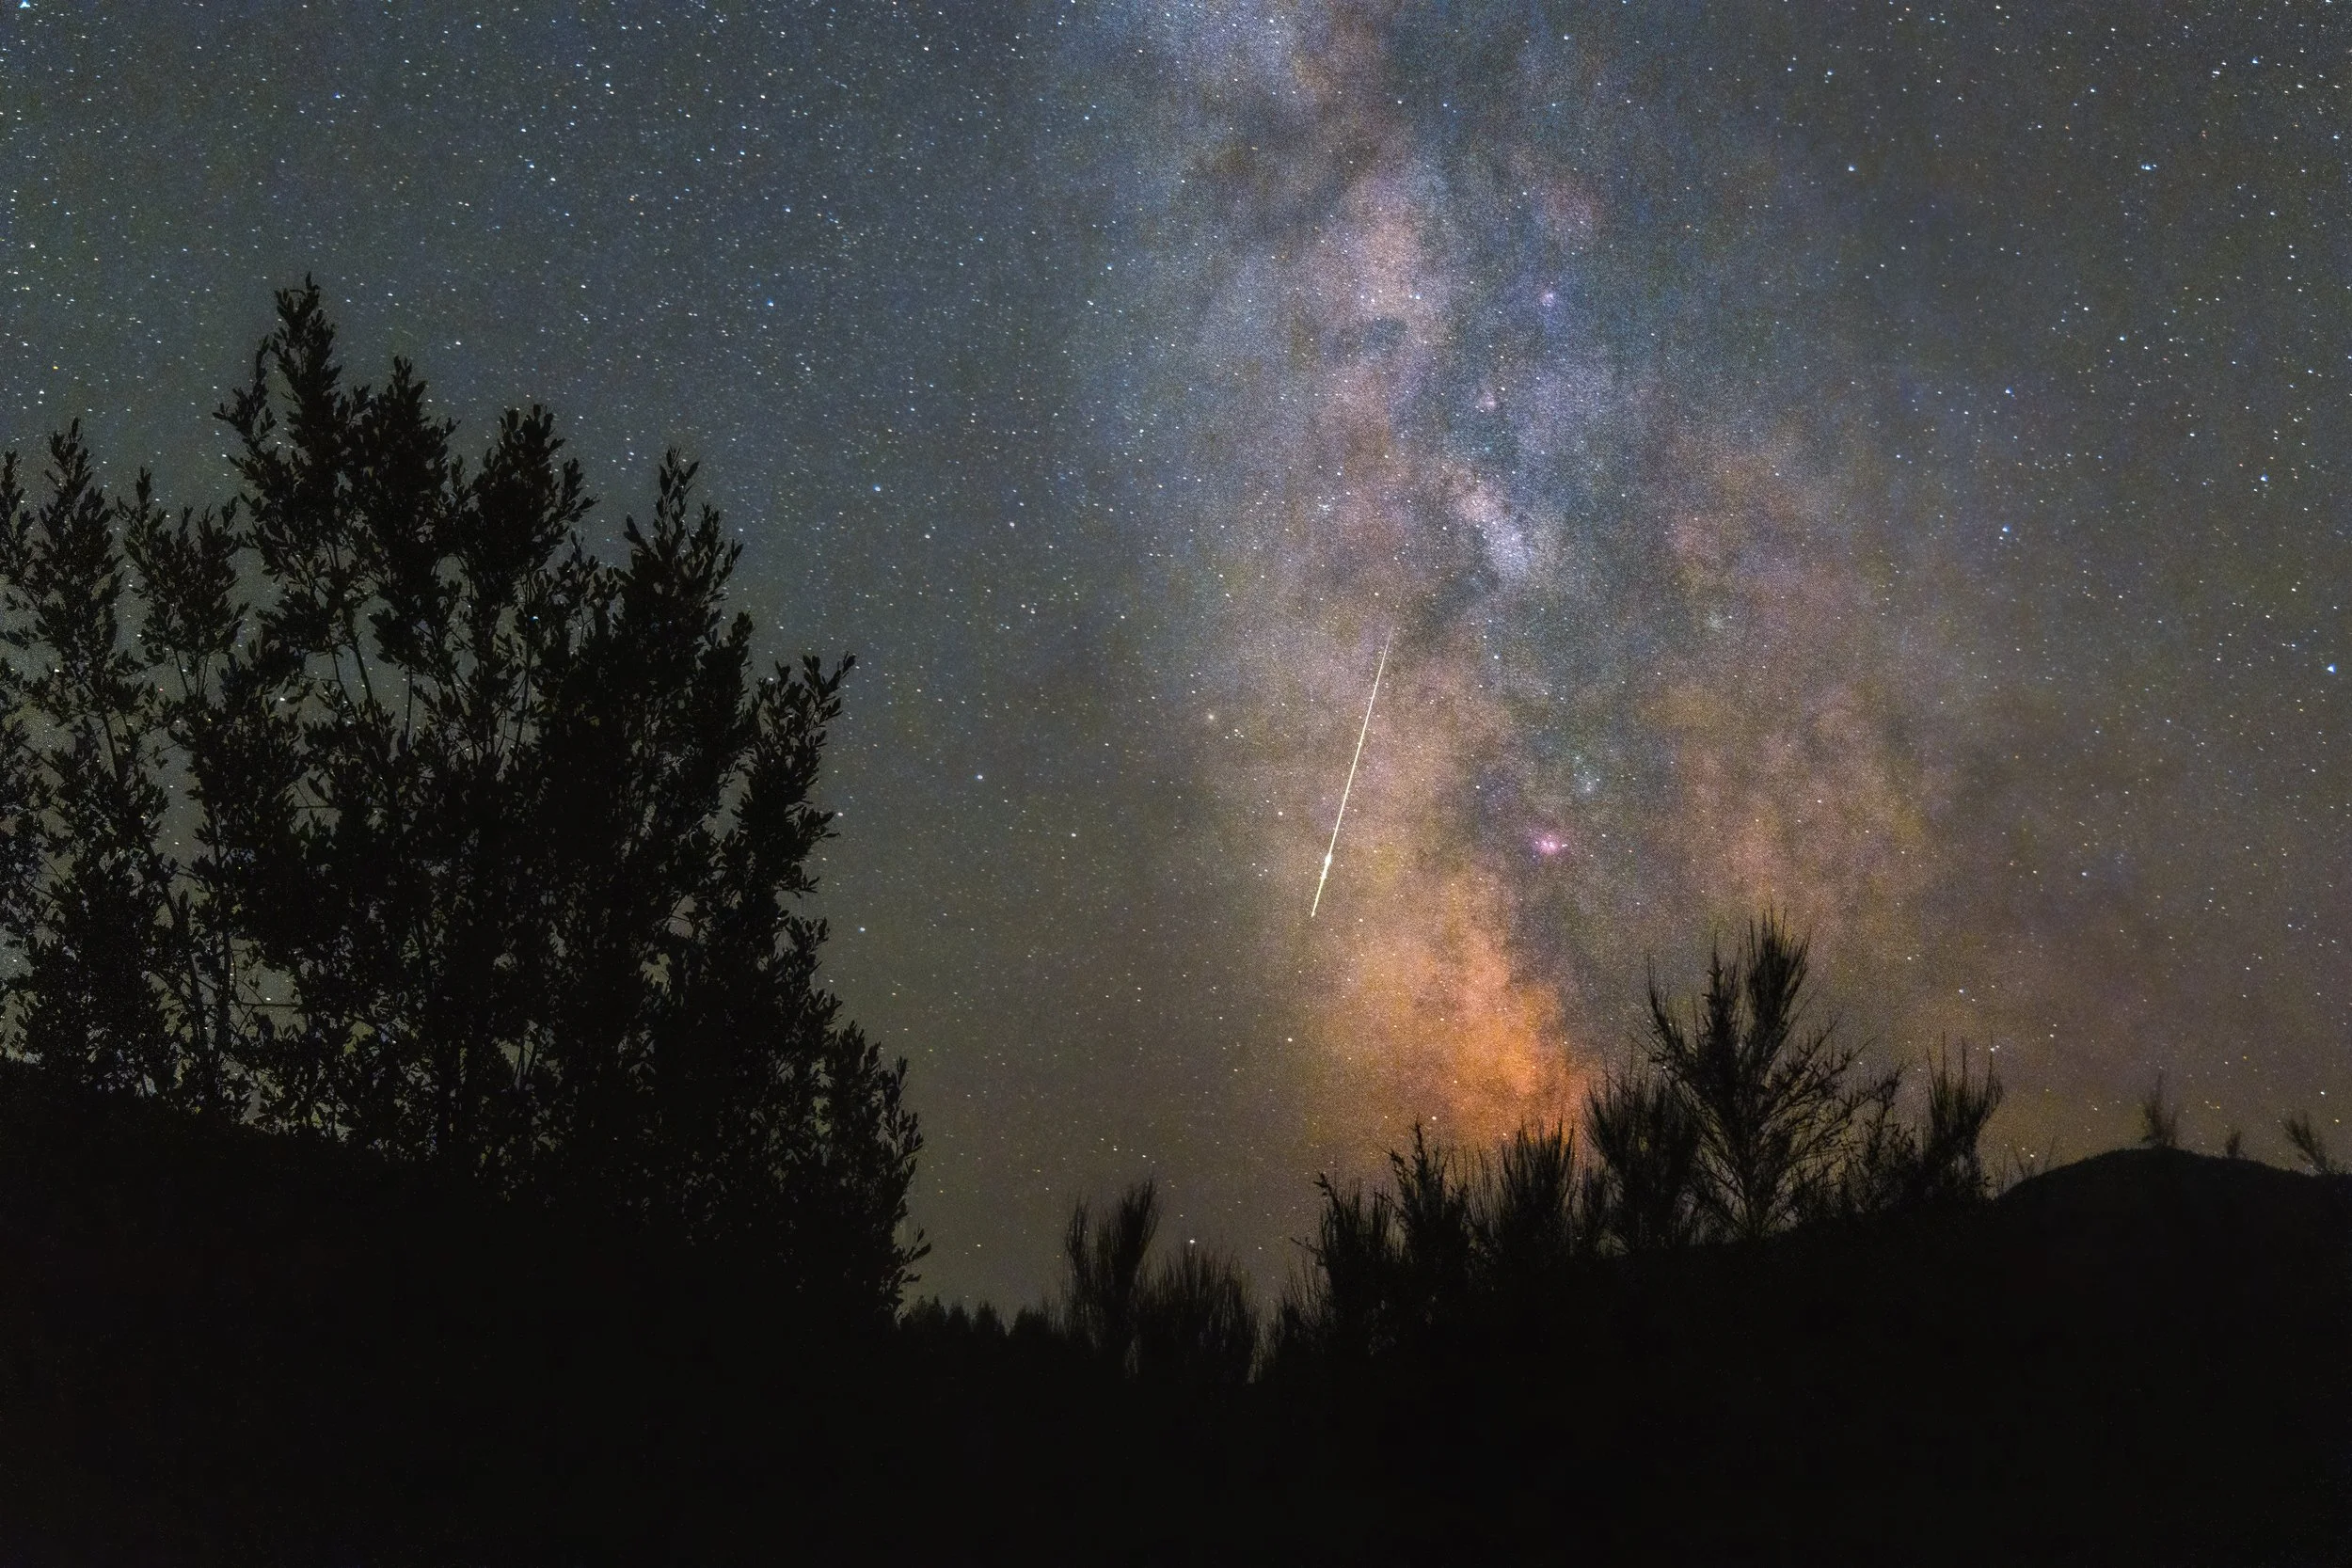
Here is another single frame of 13 seconds, f/4, 42mm, ISO 12800. The white streak is a Perseid meteor.
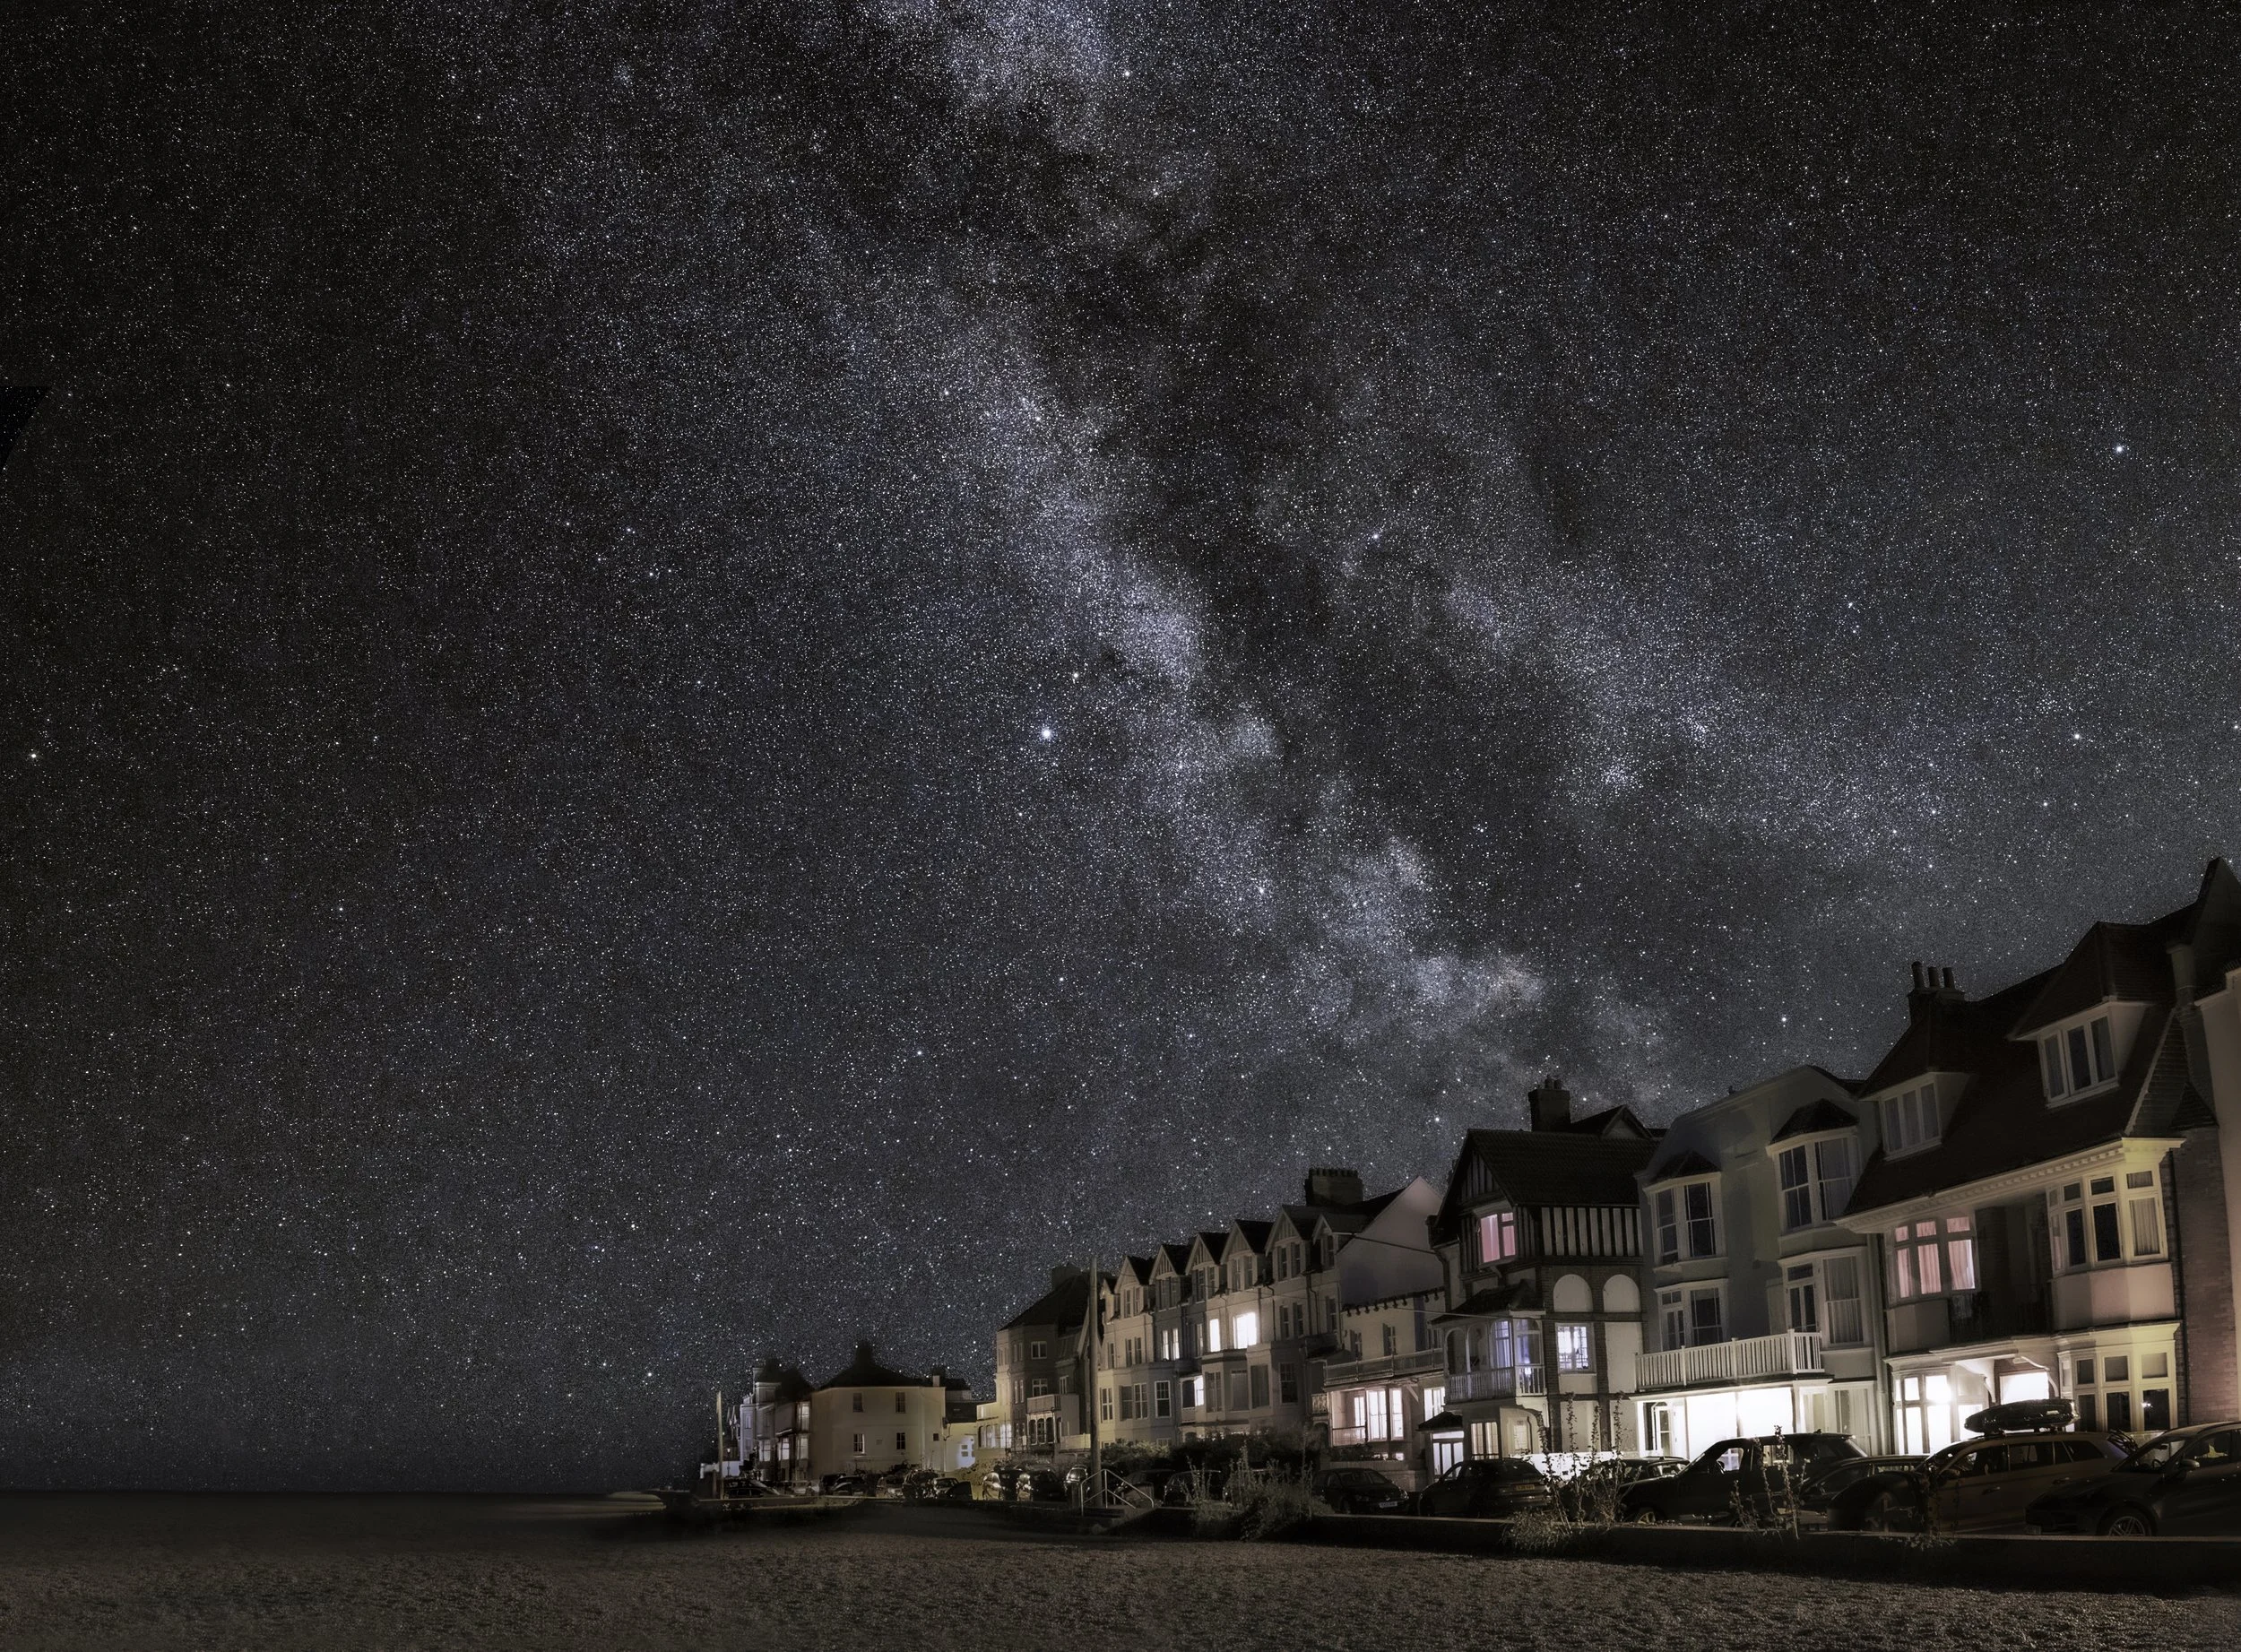
Below: Aldeburgh in Suffolk, England.
Canon EOS Ra. 1x90”. ISO 640 f/6.3 18mm.
The land image was taken form the beach and the sky from a field behind those buildings.